
How to Layer Restaurant Lighting for Atmosphere and Service
A field guide to four restaurant lighting layers, a 20-minute pre-service test, and the small checks that keep menus, faces, food, and routes visible.

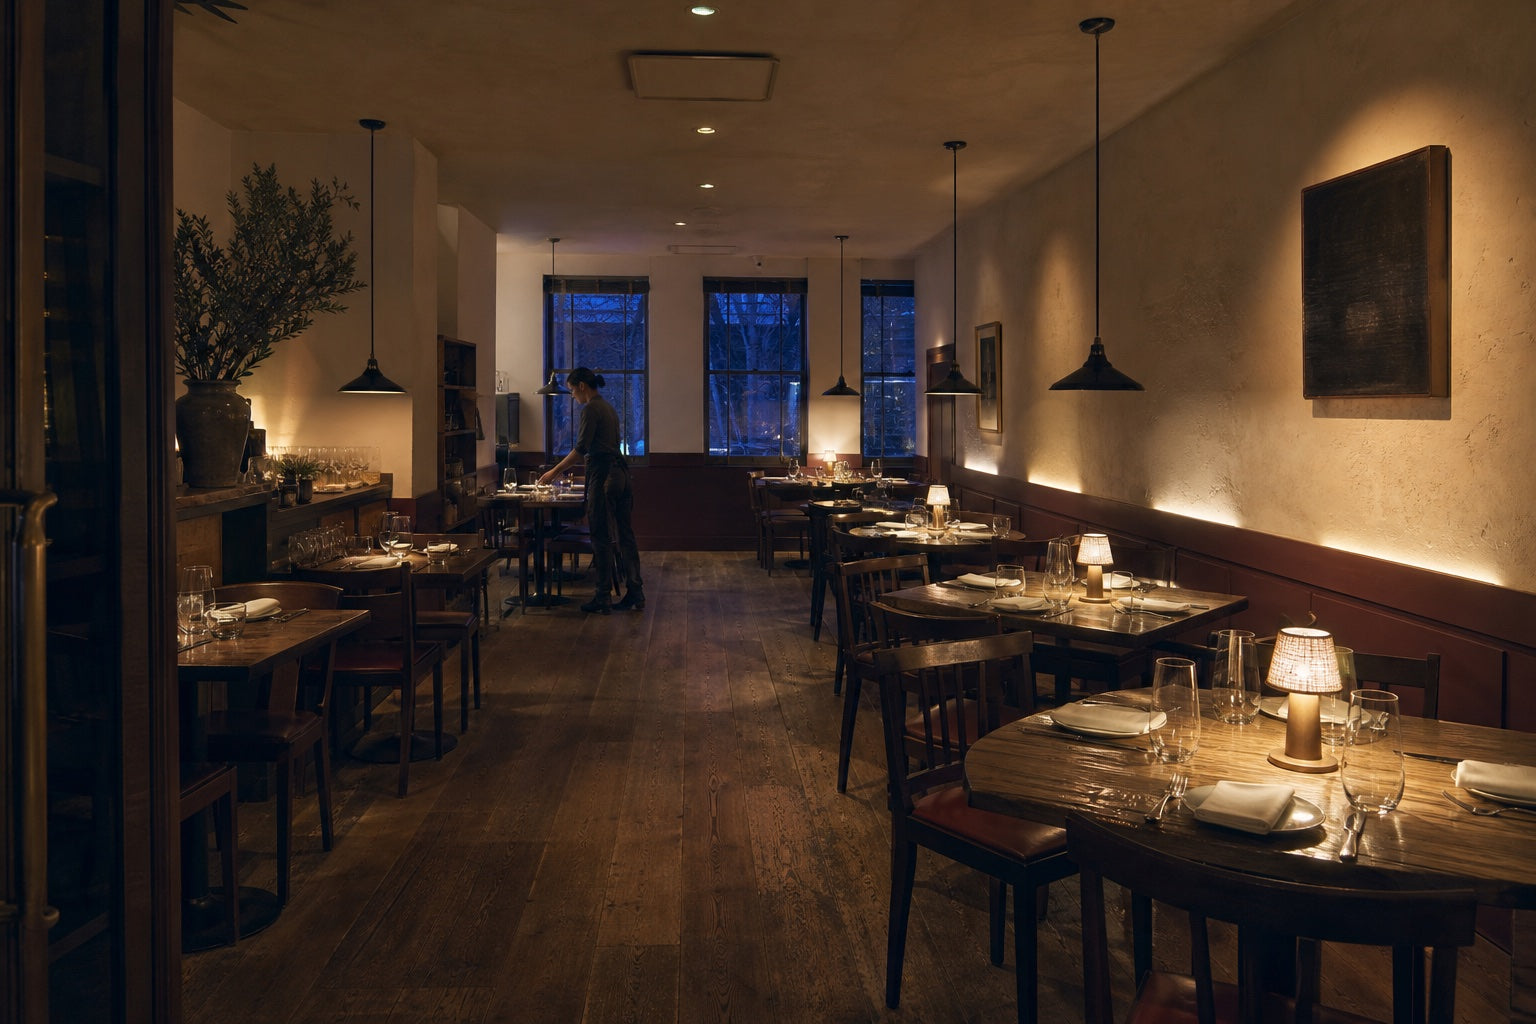
There is a moment before dinner when a restaurant can look finished from the doorway and still fail at the table. The wall is warm. The pendants glow. Then somebody sits down and finds a bright bulb in their eyeline, a shadow across the menu, or a server route that disappears between two pools of light.
Layering is how you fix the room without turning every fixture up. The point is not to own four kinds of lamp. It is to give each lighting job a clear owner, change one variable at a time, and verify the result where guests and staff actually stand.
The four layers, in plain language
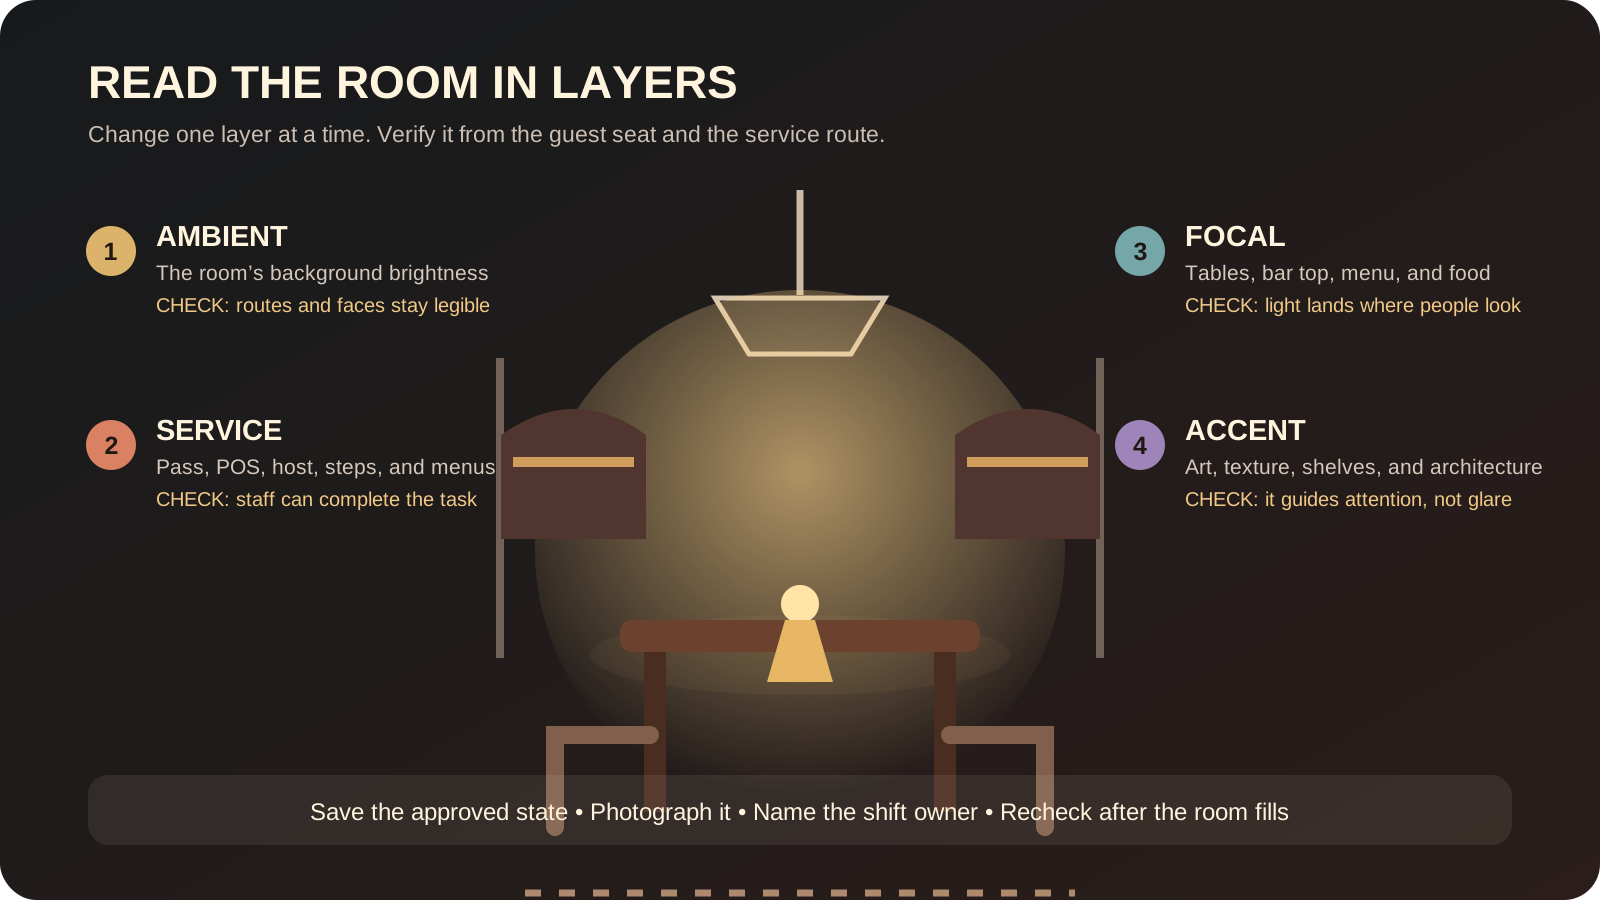
Think of the room as four overlapping systems. A fixture can contribute to more than one, but each adjustment should solve a named problem.
1. Ambient light: the room's background
Ambient light is what remains when you stop looking at a particular table or wall. It may come from ceiling fixtures, indirect cove light, daylight, or light reflected from broad surfaces.
Its job is not to make every square foot equally bright. It gives the room enough visual continuity that people can read faces, understand its shape, and move between zones without a sudden blind patch.
Check it from the entrance and from the darkest route, not only beneath a downlight. If raising the ambient scene fixes one corner but flattens the whole dining room, the corner needs a more local answer.
2. Service light: the work that cannot become theatre
The pass, POS, host stand, payment point, steps, menu-reading positions, and cleaning tasks need light because somebody must complete a job there. This layer is easy to overlook when a restaurant is photographed empty; it becomes obvious during a rush.
Do not dim required work or life-safety lighting to protect the mood. Shield glare, aim an adjustable source, repair a failed lamp, or change the guest sightline with the responsible professional. The OSHA exit-route lighting requirement is a useful US baseline, but local building, fire, accessibility, and electrical requirements still govern the site.
3. Focal light: where attention and activity meet
Focal light belongs where people look and work: a plate, menu, bar top, artwork, host face, or feature table. Pendants, suitable table lamps, adjustable spots, and carefully aimed sconces can all contribute.
Start with the task, not the product. A pendant that photographs beautifully may put the lamp in a seated guest's eyes. A table lamp may help a dark two-top but consume the space needed for shared plates. Our pendant-height guide and rechargeable table-lamp guide turn those choices into site tests.
4. Accent light: the layer that edits the room
Accent light tells the eye what to notice: plaster texture, a menu board, artwork, shelves, plants, or the back bar. It should create hierarchy, not a collection of unrelated bright spots.
Aim or mock up one accent at a time. Inspect it from nearby tables and in a phone photograph. If the art has a hot spot, the shelf reflects a point source, or the accent becomes the brightest thing in the room, adjust the angle, output, shielding, or target.
A 20-minute field test before service
You do not need to redesign the ceiling to learn where the current room fails. Run this short test with the normal table settings in place.
- Save the starting point. Photograph the room from the entrance, record the current control positions, and note the time and daylight condition.
- Bring real objects. Put the actual menu, glassware, plates, and payment device in the positions where they are used. Empty tables hide reflection and shadow problems.
- Walk five viewpoints. Sit at a window table, the darkest table, the banquette, the bar, and the seat facing the pass. Then walk the host-to-table and server routes.
- Change one layer. Adjust only ambient, service, focal, or accent light. Photograph the same views again.
- Let the room fill. Bodies absorb and block light. Recheck during a representative service before approving the scene.
- Name the state. Save the control positions, reference photographs, activation cue, and shift owner. “Make it cozy” is not an operating instruction.
The restaurant foot-candle field guide explains how to take repeatable readings. Use measurements to compare the same points and states; do not treat one chart as a universal design target.
What a useful zone record looks like
The record can be simple. What matters is connecting the observation to a specific layer and a verification step.
| Zone | What you observe | Layer to test first | What counts as improvement |
|---|---|---|---|
| Entrance and host | Faces are backlit by the door | Service or focal | The host and wayfinding remain clear from the approach |
| Window two-top | Menu becomes dim as daylight falls | Focal | Menu and food are legible without a lamp in either guest's eyeline |
| Banquette | A visible source reflects in framed art | Accent | Artwork reads without a hot spot or direct glare |
| Bar top | Bottles glow, but staff cannot read labels | Service | Staff task improves without flattening the guest-facing back bar |
| Service corridor | A dark gap appears between dining pools | Ambient or service | The route is continuous while the dining scene keeps contrast |
This small table is more useful than a shopping list because it tells the team why a change exists and how to check it later.
The common mistake: solving darkness with more objects
A room feels dim, so the ambient level drops further to look intimate. Portable lamps go on every table. Accent lights are added behind bottles and plants. Now the room contains more sources but the menu is still shadowed, the table is crowded, and the brightest visible lamp controls the scene.
The better sequence is diagnostic:
- Restore the last known usable scene.
- Identify the failing seat, task, or view.
- Check whether the problem is level, distribution, glare, contrast, colour appearance, or a failed source.
- Test the least disruptive layer.
- Remove a decorative source if it has no job.
That last step matters. Layering is not accumulation. A room often improves when one competing source is switched to an approved lower state, re-aimed, shielded, or removed.
Run the pre-shift walk like a service check
The illustration below shows the rhythm: read a menu at the table, look along the route, check visible sources, and confirm the control state. It is a small routine, not a design presentation.
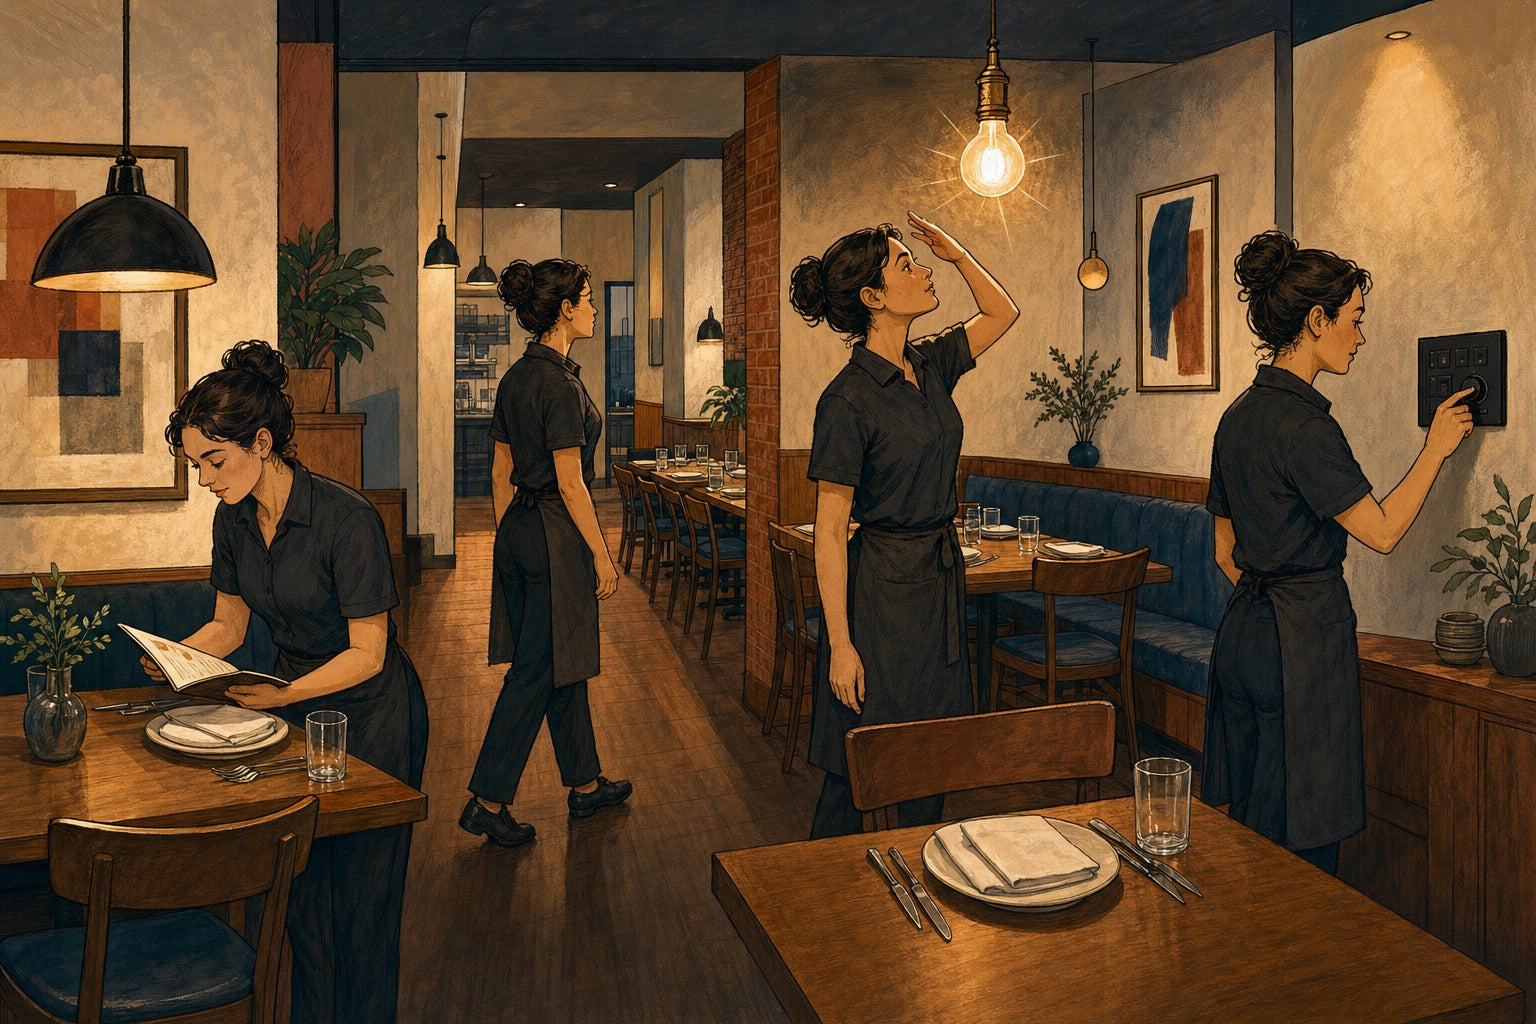
Put the walk on the pre-shift sheet:
- failed or mismatched lamps by location;
- portable lamps charged, clean, stable, and deployed only to approved tables;
- adjustable fixtures still aimed at their documented target;
- no direct source in a normal seated sightline;
- menus, faces, food, payment, steps, and routes checked;
- exit and emergency-lighting defects escalated through the venue's required process.
The person running the check should be able to report a defect without improvising electrical work. A qualified lighting designer or electrician should assess new circuits, dimmers, drivers, hardwired fixtures, and compatibility questions.
Choose products after the layer is clear
Once you know the job, the product category becomes easier to shortlist.
- Browse pendant lights for a localized table or counter layer, then verify scale, lamp position, suspension, controls, and professional installation.
- Browse wall lights when a perimeter, artwork, or architectural surface needs attention, then check projection, glare, mounting, and cleaning access.
- Browse table lamps when a tested table-level layer solves a documented gap, then verify stability, runtime, charging, and place-setting space.
- Use the nine restaurant lighting types guide to compare categories without assuming that every room needs all nine.
- Use the colour-temperature guide to separate colour appearance from brightness and distribution.
The Illuminating Engineering Society's discussion of restaurant lighting as a layered experience is a useful professional perspective. The practical takeaway is not a fixture count; it is coordination between visual comfort, food, people, architecture, and service.
Questions restaurant teams usually ask
How many lighting layers does a restaurant need?
Four is a useful planning model, not a compulsory fixture count. A small café may create several layers with a few well-placed sources and daylight. A larger room may need more zones and controls. Give every source a job and remove unnecessary competition.
Should table lighting be brighter than the rest of the room?
It should support the table without becoming a visible glare source or erasing the room around it. Test the plate, menu, faces, and view from every seat rather than relying on a simple brighter-or-darker rule.
Can we fix the mood by changing colour temperature?
Colour appearance is only one variable. A warmer lamp cannot repair poor distribution, glare, a dark route, or an incompatible dimmer. Sample a specific compatible lamp in one complete sightline before ordering a room quantity.
When should lighting scenes change during service?
Use actual daylight and service conditions as the trigger. Save the approved states and name the owner. Recheck as sunset and operating patterns change; do not rely on a universal clock time.
What should we photograph?
Use fixed views: entrance, priority table, darkest table, bar or service point, and the main route. Photograph the same positions before and after one change so the comparison remains useful.
The useful outcome
A good lighting plan is not the dimmest room or the most dramatic photograph. It is a room the team can repeat: guests see one another and their food, staff complete their work, routes remain clear, and the architecture still has hierarchy.
Start with one service state and one problem seat. Name the layer, test the smallest change, and write down the result. That is how atmosphere becomes an operating system instead of a lucky dimmer position.
Keep reading

guest-experience
Restaurant Restroom Cleaning Checklist and Inspection Log
Use this restaurant restroom cleaning checklist for opening, service inspections, supplies, fixtures, floors, waste, incidents, and closing records.

dining-room-operations
Restaurant Dining Room Cleaning Checklist: Turn to Close
Use this restaurant dining room cleaning checklist for table turns, high-touch points, spills, service stations, floors, opening, and close.

food-safety
Restaurant Kitchen Cleaning Checklist for Every Shift
Use this restaurant kitchen cleaning checklist to control opening, between-task, four-hour, closing, and weekly work without vague assignments.