
Restaurant Wall Shelving & Display Ledges
Plan restaurant wall shelving by job, maximum installed load, real wall substrate, route projection, cleaning access and a photographed reset layout.

By Resto Glow Studio · Published 3 August 2026 · Last updated 3 August 2026
A shelf can display objects, hold retail stock, or support service. Each job brings a different load, depth, fixing, cleaning, and access requirement.
This guide starts with those operating constraints. Use it to write the brief for an installer and to decide whether a wall should carry a shelf at all; do not use it to select an anchor without the shelf weight, wall construction, and hardware manufacturer's instructions.
Pick one job per shelf run
Start by assigning each shelf run one primary job. Three common categories make the operating brief easier to write.
Display. Styling a blank wall with objects instead of art. Define who resets it, how objects are restrained and how every surface is cleaned.
Retail. Grab-and-go merchandise: bottles, beans, jars, sauces or branded glassware. Add price communication, replenishment, stock rotation and reach to the brief.
Service. A landing zone near a server station or bar — carafes, cutlery caddies, condiment trays. Utility, out of the main sightline, sized to what actually stacks on it.
Choose a primary job per run and mark the usable zones. If one run must support two jobs, separate them visually or physically and label the service area so spare operational stock does not displace the display.
Calculate the installed load
Objects that look decorative can become heavy in aggregate. Weigh a representative full bottle, vase and ornament from actual stock, then count the maximum that staff could place on the run. Add the shelf, brackets, lighting and any retained display hardware to the installed-load schedule.
Three numbers interact, and the weakest one governs:
- The bracket rating — what the hardware claims, assuming perfect installation into sound material.
- The shelf span — the distance between supports. Longer unsupported spans can sag or exceed the shelf maker's limit.
- What is actually on it — the real load, including whatever staff add later.
Match the fixing to the wall and system. Have the installer identify the substrate and choose hardware rated for the complete shelf assembly and expected load. A published rating applies only under the manufacturer's stated substrate, spacing, edge-distance, and installation conditions; it is not a universal capacity for every wall.
And the rule that matters most: do not mount heavy display directly above seated heads. Bottle walls, ceramics and stone belong above a bar back or a console — not above table seven. A heavy run going in above people deserves a contractor and a fixing spec, not an afternoon with a drill.

Heights and sight lines
Height is what makes a shelf read as design rather than storage. Get it wrong and the same objects look like a stockroom.
The planning ranges below are house starting points, not ergonomic or code standards. Set the final height from the actual furniture, products, staff reach, seated sightlines, and applicable clearances. Build a full-size tape mock-up and test it with the shortest and tallest people who will use the run.
| Shelf type | Working height | Depth | Load | Best use |
|---|---|---|---|---|
| Picture ledge / display run | Centred ~57–63 in AFF | 3–5 in | Light | Frames, small ceramics, propped signs |
| Banquette-wall ledge | Above seat back + head clearance | 3–5 in | Light only | Decor — never heavy objects |
| Back-bar shelf | Lowest shelf ~18–24 in above counter | 8–12 in | Moderate–heavy | Bottles, glassware, stock |
| Retail run | Sell zone at standing eye level | 8–12 in | Moderate | Merchandise, packaged goods |
| Service landing | Near counter height | 10–12 in | Moderate | Carafes, caddies, condiments |
| Over a circulation path | Full headroom, projection-limited | See code section | Light | Usually the wrong place |
Sit down before you sign off. A shelf that composes beautifully at standing height can vanish behind a banquette back — or land in a diner's face.
Check projection and zone requirements
The 2010 ADA Standards §§204.1 and 307.2 address protruding objects on circulation paths: an object with a leading edge more than 27 in and not more than 80 in above the floor may project no more than 4 in horizontally into the path. Confirm how the Standards and any local requirements apply to the actual project.
Practical checks:
- In corridors, service aisles and accessible routes, map the full projection—including brackets, leaning frames and lights—against the applicable limit. Do not treat a leading edge above 80 in as automatic approval; headroom, egress and local rules still apply.
- A shallow ledge may be easier to resolve than deep shelving, but its full assembly and displayed objects must be included in the projection check.
- Keep shelving out of egress paths. A means of egress is not a place to be clever.
Then the health side. Where a shelf sits in a food-prep or service zone, confirm the required surface characteristics and equipment approvals with the local health authority. Do not move a decorative raw-timber shelf into a working food zone simply because it looks suitable in the dining room.
Verify the current Food Code edition and your local authority's adoption of it, and check occupancy-specific requirements with your building department before ordering.
Styling a ledge so it does not look like storage
Use the following as a mock-up recipe, then photograph it from the main guest views and write the approved layout into the reset guide.
Three heights. Test a tall, a mid and a low element so the grouping has a readable silhouette. Compare it with a simpler two-height option in formal rooms.
Sixty–forty starting point. Fill roughly 60% of the run in the first mock-up and leave the rest open. Adjust for product density, reach and cleaning access; the ratio is a house composition prompt, not a standard.
Odd and even groups. Compare a three-object cluster with a deliberate pair. Odd groups can feel informal; pairs can suit a more symmetrical room.
One controlled overlap. A restrained leaning frame can add depth, but it also changes load and projection. Secure it against slipping and keep required labels visible.
Repeat a motif. On a long run, bring back one colour, material or form at intervals set by the shelf bays. Judge the rhythm from the entrance rather than relying on a fixed distance.
Possible elements include ceramic vases, artificial branches, figurines, low ornaments, restrained leaning frames and propped signs. Record each object's location in a reset photograph, and secure anything that could slide, roll or fall.
The retail shelf: turning wall space into a revenue line
If you sell anything — beans, sauce, glassware, a tote — it belongs on a wall, not in a basket by the till.
Test the sell zone. Place the priority product within the intended customer's visible and reachable range, then observe whether people notice it without blocking circulation. Do not rely on a universal eye-level measurement.
Price it clearly. Use legible, maintained shelf cards in the restaurant's visual system. Include required unit, tax or other price information for the jurisdiction and keep the card associated with the correct product.
Keep retail distinct from decor. A dedicated bay, consistent price-card format or clear heading should tell guests which objects are merchandise and which are display.
Set a replenishment trigger. Define the minimum facing and who checks it. If stock falls below the approved layout, consolidate the display rather than leaving arbitrary gaps.
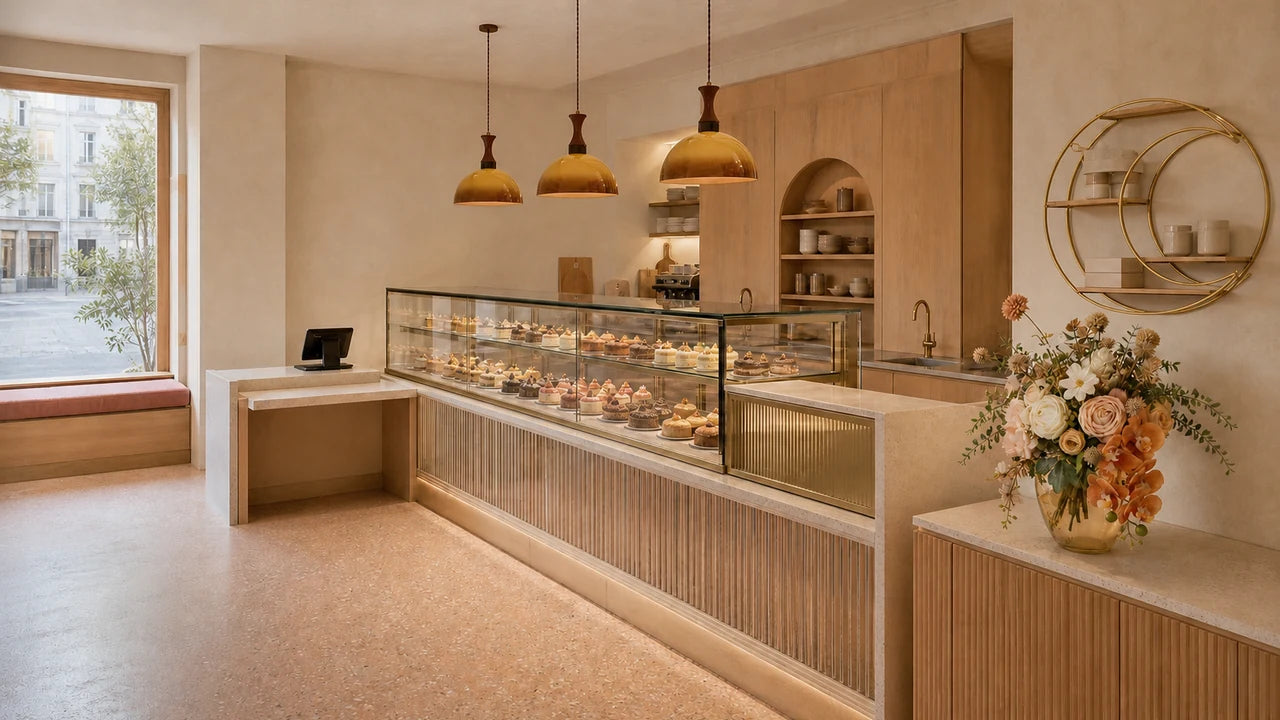
See the counter-adjacent version in The Marzipan Bakery Counter, where display and retail share a wall without one undermining the other.
Test the shelf lighting at service level
A shelf that works in daylight may disappear into the wall or create glare after the room changes to its night scene. Include lighting in the full-size mock-up.
Two options to test are a wall light positioned to wash the run, or a rechargeable LED table lamp on a shelf designed for its footprint and charging routine. A fixed light needs the appropriate electrical design; a portable lamp needs restraint, spill review, battery care and a staff charging plan. Our table lamps range provides formats to compare.
Keep the source out of seated sightlines. A shelf light aimed at the objects is atmosphere; the same light visible from a chair is glare.
Do not count the shelf as acoustic treatment
Irregular objects change a wall's geometry, but a styled shelf has no useful acoustic rating unless the complete assembly has been tested. Give it no absorption or diffusion credit in the room model. For an acoustic plan, use measured room data and tested assemblies; our restaurant acoustic design guide explains the starting audit.
Cleaning cadence and the grease question
Set the cleaning interval from inspection. Horizontal surfaces collect dust, while shelves exposed to cooking aerosol may need a chemical-compatible degreasing method. Give the supplier the actual heat, steam, grease and cleaning products, then choose a complete finish system approved for that exposure.
Schedule a full clear-down often enough to inspect hidden surfaces, fixings, lights and object condition. Follow each material's care method, record damage, and reset from the approved photograph rather than memory.
What we would put on the shelf
Start with the shelf itself: our restaurant wall-mounted display shelf is one wall-fixed format to include in the installer's comparison. Build the object schedule from measured weight and footprint. Tall options include a large Langhong-glazed vase or simulated peach blossom branch. Mid-height options include a Kutani-style table vase or blue-and-white porcelain vase. Lower options include a resin figurine sculpture or a restrained cocktail tin sign. Verify stability and restraint for every object.
Soft & Sculptural is where most of these objects live; Warm & Intimate is the range for dining-room runs, and After Dark for bottle walls and back-bar shelving, which the back bar design guide covers in full. Speccing multiple runs across a site? Trade projects is the route to a coordinated install.
For the wider question of what belongs on your walls at all, our comparison of restaurant wall decor options puts shelving beside nine other treatments — this post is the chapter it only had room to introduce.
Restaurant shelving FAQ
How much weight can a floating shelf hold?
There is no reliable capacity without the complete system: shelf material, span, bracket spacing, hardware, substrate, installation method, and load distribution. Weigh the planned objects, include the shelf itself, and have the installer verify the assembly against the manufacturers' instructions.
How high should shelves be above a bar or banquette?
Back-bar shelving generally starts somewhere around 18–24 in above the counter so bartenders can work underneath, adjusted to your tallest bottle. A banquette-wall ledge must clear the seat back plus a seated guest's head plus room for leaning. Set both from the position itself, not on paper.
Can you put shelves in a restaurant walkway?
Not the deep ones. The ADA Standards address protruding objects at §307.2: items with a leading edge between 27 in and 80 in above the floor may not project more than 4 in into a circulation path. A shallow picture ledge can work; a 10 in shelf at chest height in a corridor is a compliance problem. Keep egress routes clear.
What do you put on restaurant display shelves?
Begin a mock-up with three heights and roughly 60% of the run occupied, then adjust for the room, stock density and cleaning access. Compare an odd cluster with a deliberate pair, repeat one motif by shelf bay, and secure every leaning, rolling or top-heavy object.
Do display shelves need to be food-safe in a restaurant?
Requirements depend on the zone and jurisdiction. A decorative dining-room shelf and a shelf in a food-prep or service area are not interchangeable. Ask the local health authority which surface and equipment requirements apply before specifying shelving near food handling.
Choose the job, calculate the maximum installed load, verify the real wall and route projection, then approve the object and lighting plan at full scale. See an object-display concept in The Concrete Wine Room, or browse Soft & Sculptural for pieces to test in the mock-up.
Keep reading

guest-experience
Restaurant Restroom Cleaning Checklist and Inspection Log
Use this restaurant restroom cleaning checklist for opening, service inspections, supplies, fixtures, floors, waste, incidents, and closing records.

dining-room-operations
Restaurant Dining Room Cleaning Checklist: Turn to Close
Use this restaurant dining room cleaning checklist for table turns, high-touch points, spills, service stations, floors, opening, and close.

food-safety
Restaurant Kitchen Cleaning Checklist for Every Shift
Use this restaurant kitchen cleaning checklist to control opening, between-task, four-hour, closing, and weekly work without vague assignments.